
Building an Acoustic Guitar
A few years ago I decided to take a break from work and spend a month in mid-Wales building a guitar. I took Richard Osborne‘s course in the spring of 2022 and as someone with very little woodworking experience, I ended up with a beautiful instrument that I have to keep reminding myself I made when I pick it up! This post goes into the details about my time in the workshop.
Deciding to go
When I found the course I actually wasn’t looking to make a guitar – it was an ad that popped up while I was scrolling on the internet and it looked interesting. I did want to check how legitimate it was though, so I called the number on the website for a chat. Richard spent half an hour chatting me through the course and I knew then that he was the real deal and that this was something I wanted to do.
Choosing the wood
The very first step is choosing what wood to use. As a complete novice, I had no idea how to do this. Richard asked what kind of tone I wanted and we went from there! I landed on American Black Walnut back and sides with a Sitka spruce top. I don’t like a bright and sparkly sound so hoped that these woods alongside the jumbo sized body would give a warm and full tone. The neck is made of responsibly sourced mahogany and the fretboard some “imperfect” ebony.
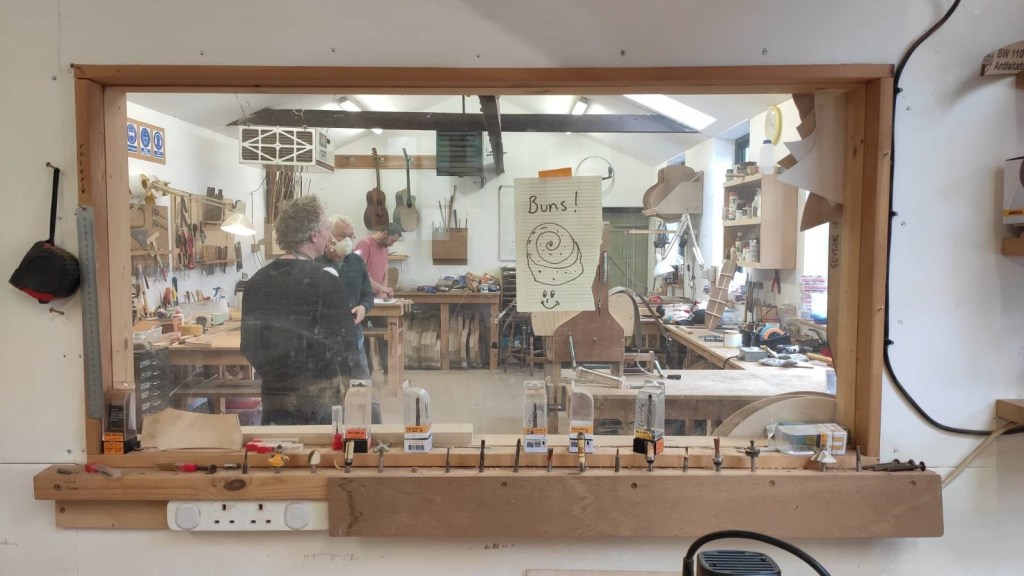
The neck, the back, the top and sides (and craic)
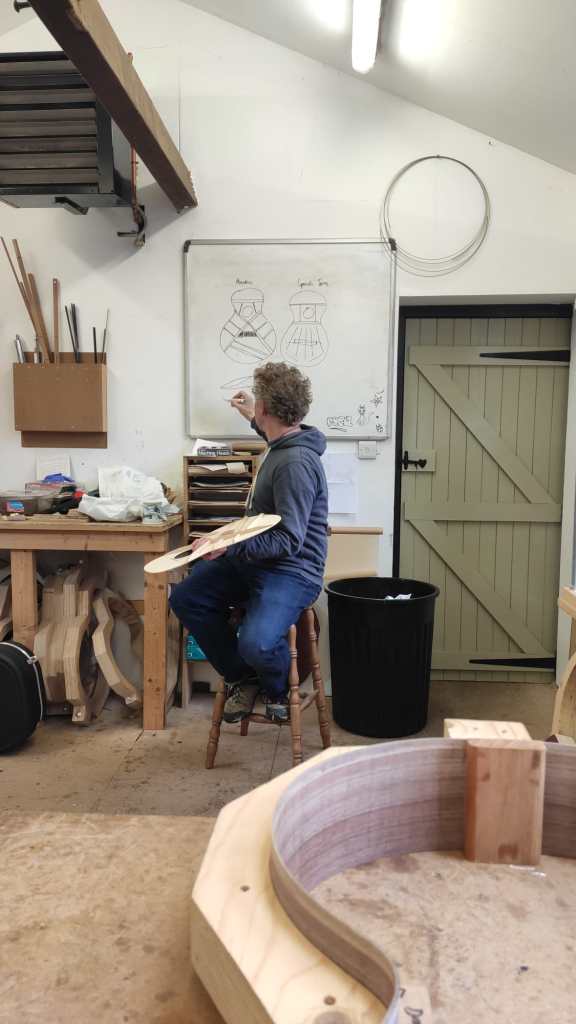
There is so much that can be said about these bits and inevitably a lot will be missed out in this post. On the right is a photograph of Richard explaining the history and design behind positioning of the bracing on the top of the guitar. I had no idea that these were the bits that really make the tone – the most important parts! As an engineer who had played guitar for about a decade by this point, it was fascinating to learn about.
The very first step was gluing the two halves of the top and back sheets together. Once it was dry, we then cut out a rough shape for the top and back with a bandsaw. After that, we worked on the rosette and bending the sides. Richard had several custom tools he had built himself to help with the guitar making process, from domes to help get the slight curve of the top and back, to clamps and shaped iron presses. The slideshow of photos below run through some of the main steps in the construction process.
Before this I had never appreciated all the little bits, micro adjustments and incredibly precise engineering that went into building a guitar – the alignment of the neck to the body, frets and fret markers, bindings and shaping the headstock, creating and setting the inlay….and that’s the tip of the iceberg! There was so much sanding, so much chiseling and so much patience required to get everything just-so.
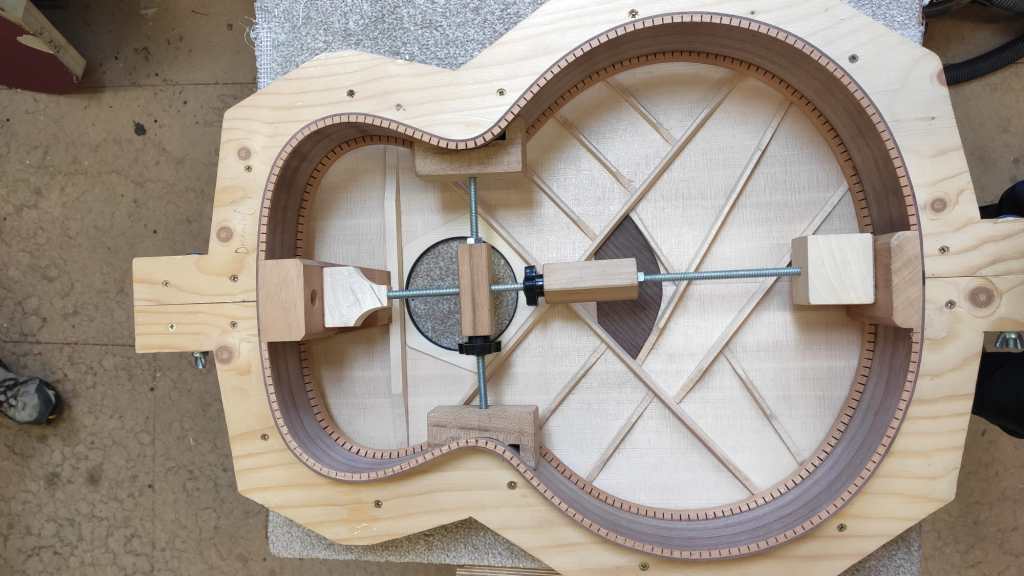
The top with all the bracing glued in 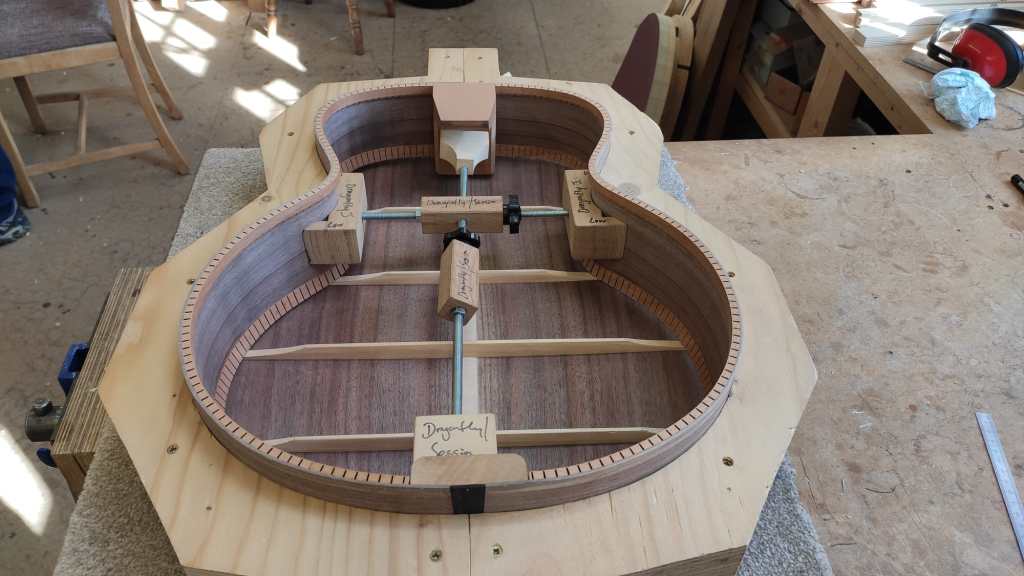
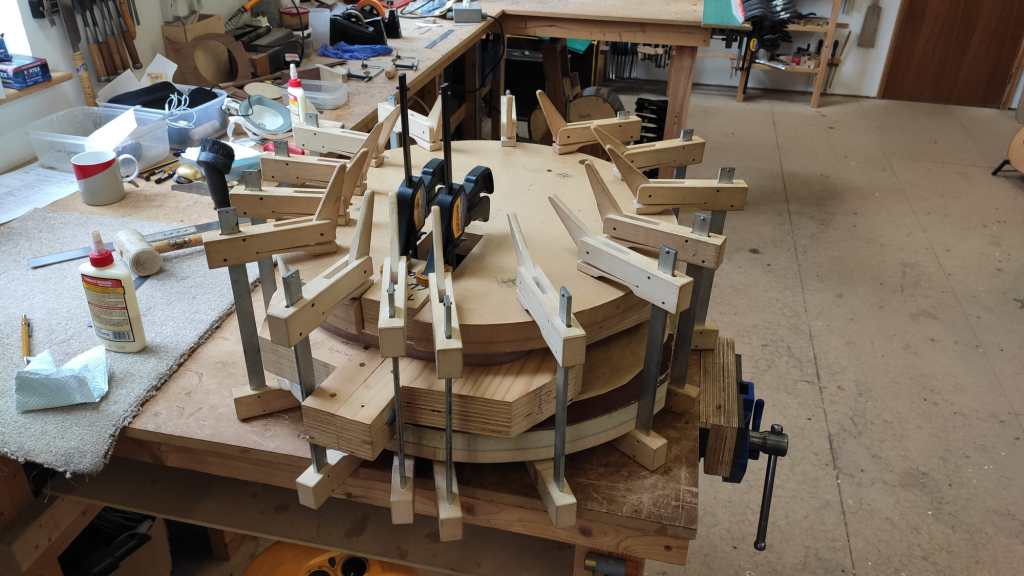
The back and sides drying in place 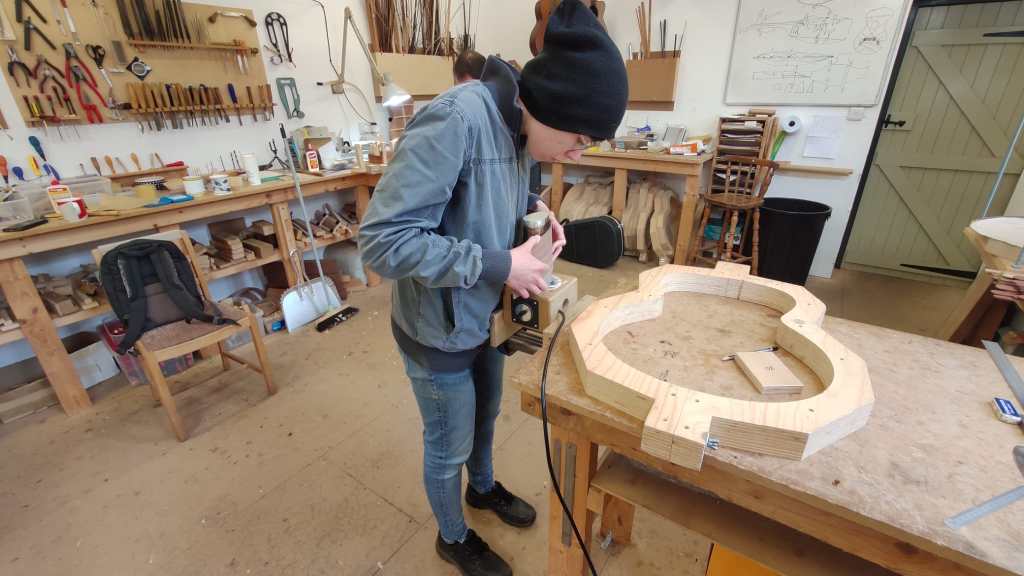
Using an iron to put the finishing touches on bending the sides and bindings 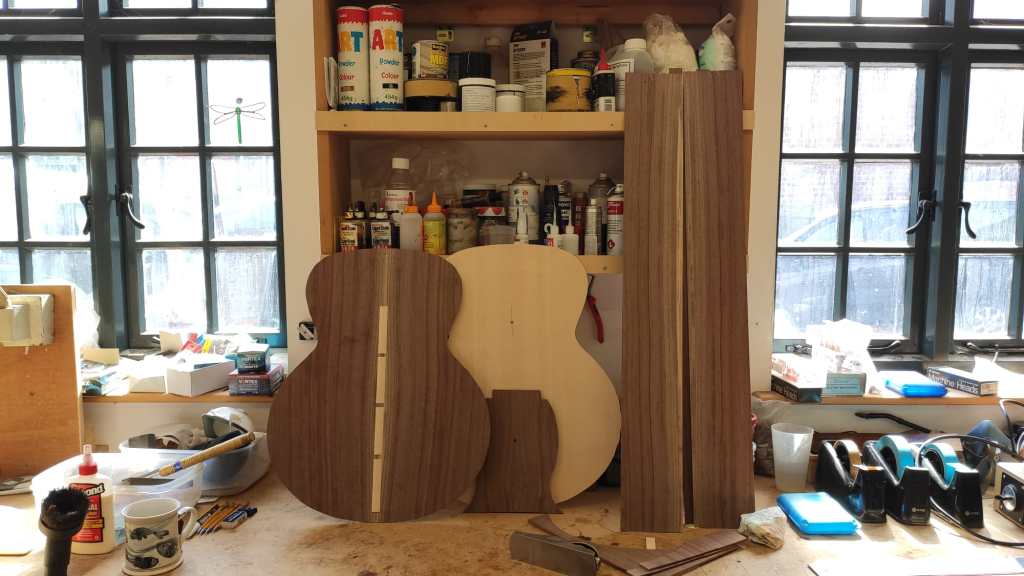
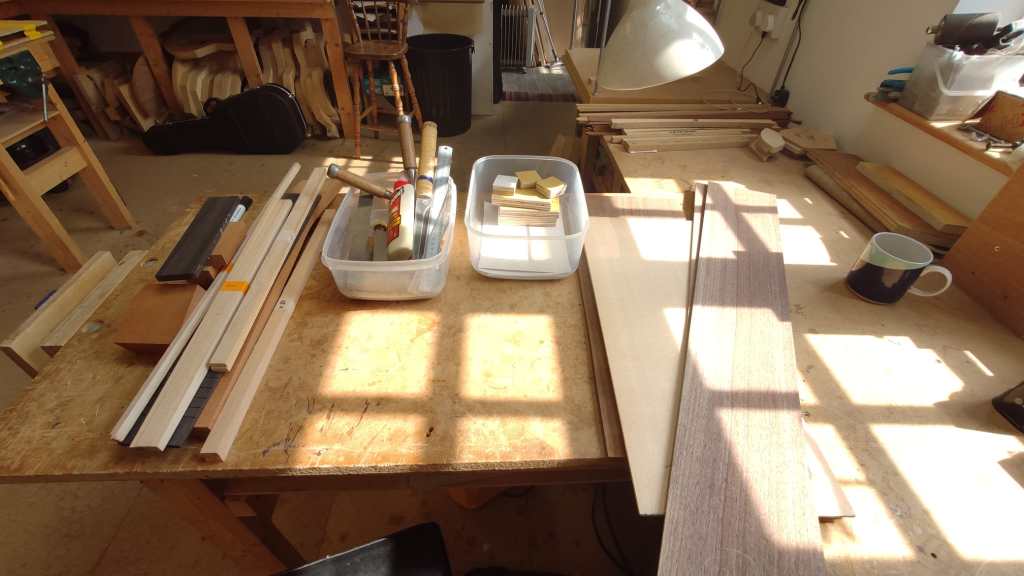
The top, back and sides before the “real” work begins 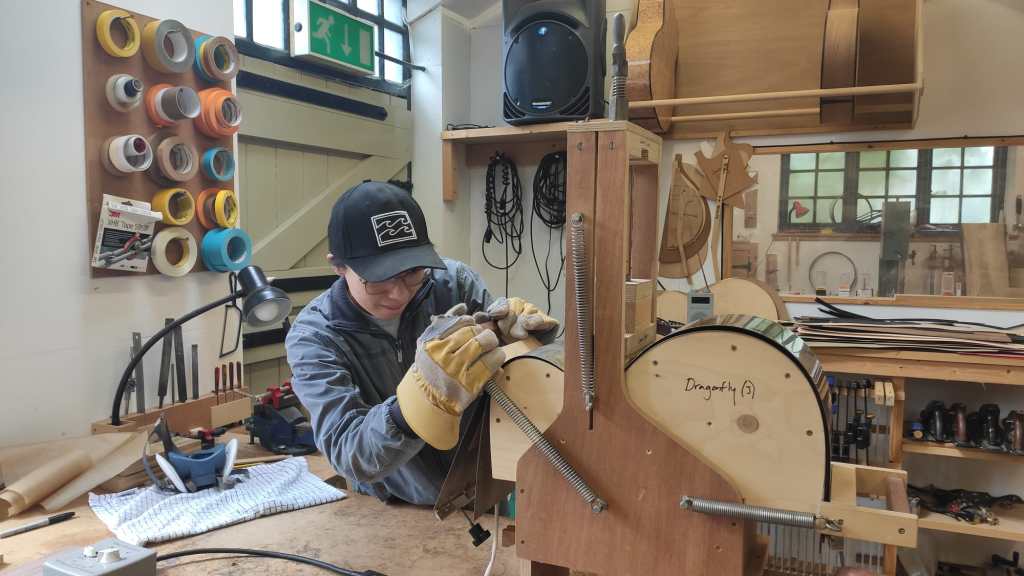
Bending the sides in a custom iron contraption 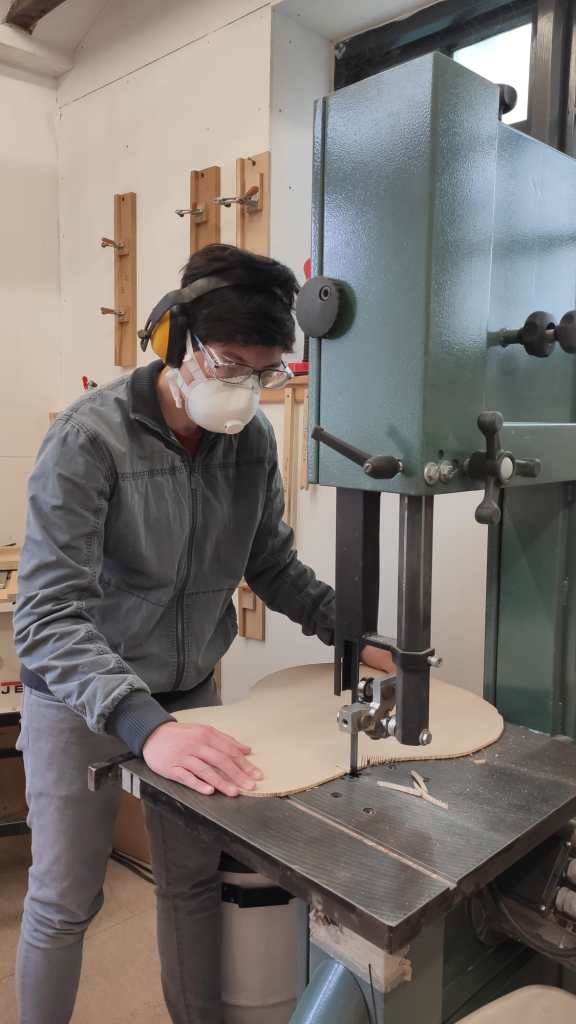
Using a ban saw to cut the main body shape 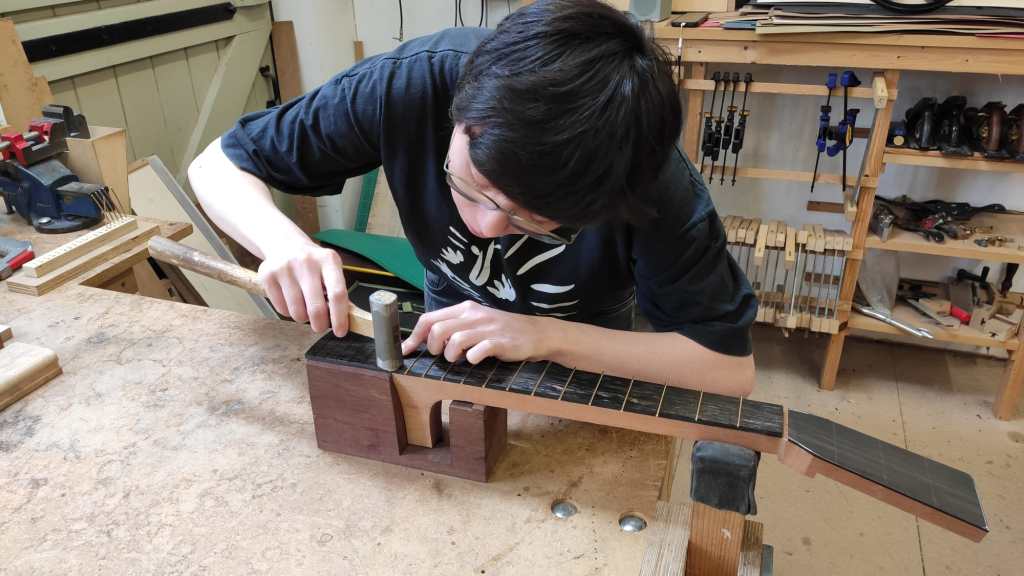
Hammering in the frets 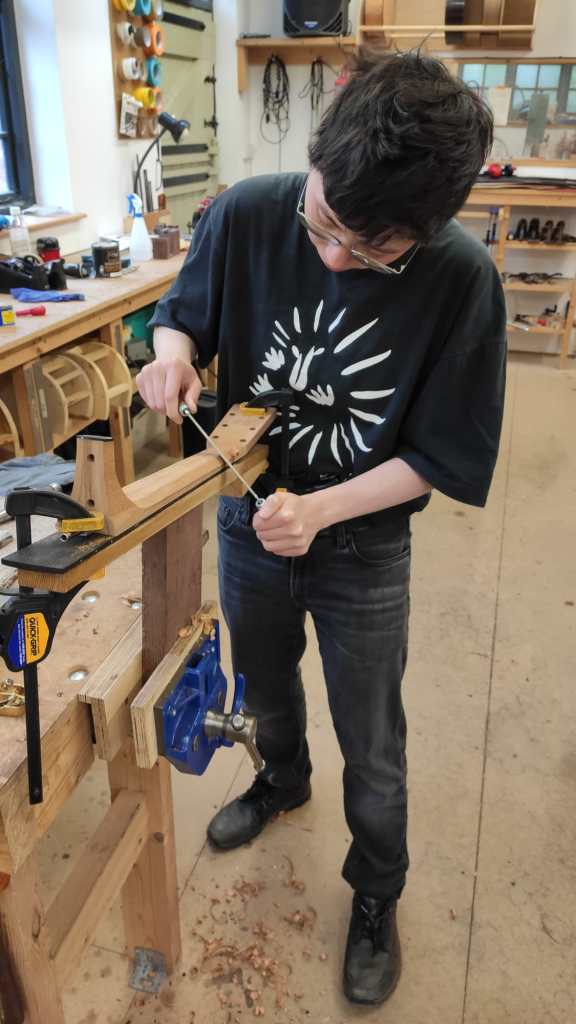
Shaping the neck 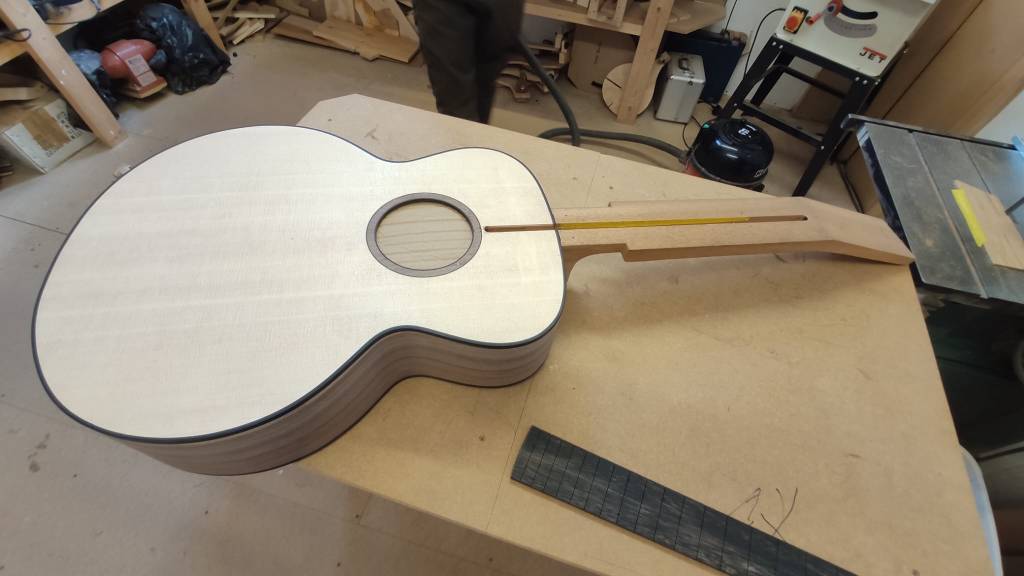
Testing the fit: attaching the neck to the body 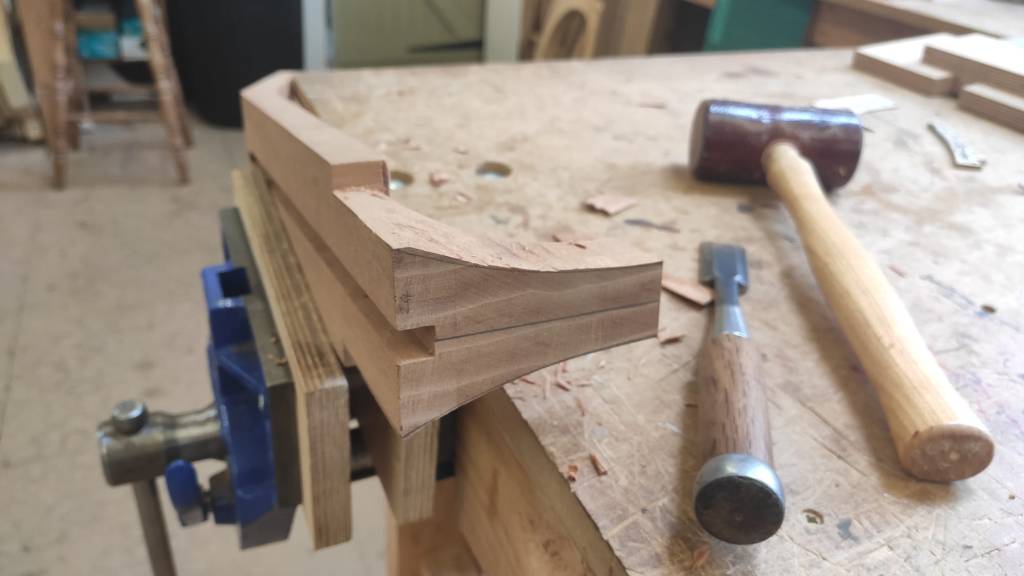
Getting the angles just right with a chisel 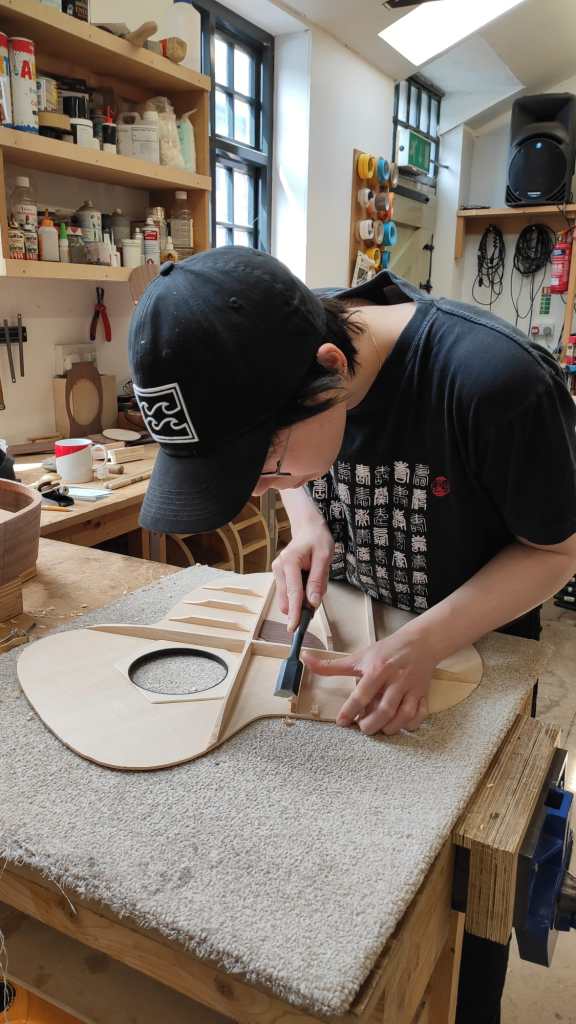
Hours of chiseling – getting the bracing just right
Bringing everything together
Perhaps the most nerve-racking bit was the routing. Essentially, once things are glued together you have to make holes in it to make space for the bindings, truss rod, bridge and strap buttons. It’s exciting because at this point the guitar looks like a real guitar, but it’s also terrifying because you’re essentially drilling holes into something you’ve poured blood, sweat and tears into for the past few weeks.
The very last step before attaching the neck to the body and adding the bridge and all the accessories is the finish. As an environmentalist, Richard has spend many years perfecting a finish that provides enough protection and shine for the guitars while minimising the use of harsh chemicals. Our guitars were finished with a water based lacquer and French polish which we carefully sponged on before attaching all the final little bits to the guitar. The woodgrain really started popping and finally, with the nut, bridge, bridge pins and tuners all on we were ready to string up.
Wrapping up
The first play of my guitar was just so satisfying. Throughout the whole month I was worried that I’d get to this point and not enjoy the way it sounded. But thankfully I love the way it sounds. And bonus – apparently it really suits my style of playing! I hadn’t realised how much the way a guitar sounds can change over time. Even within the first few hours it matured, and over time I’m sure it will continue to (so I’ve been told…honestly I can’t really tell). Maybe one day I’ll be a good enough guitarist to be able to appreciate all these tonal differences and be “justified” in having such a beautiful instrument. For now, all I know is that this experience and the guitar I got out of it is something I enjoyed and will continue to enjoy every time I play.
Aside from being around guitars, music and kind people, one of the things I enjoyed most about the course is Richard’s wealth of knowledge and passion for the environment. Learning more about wood, the history of the wood trade, and the impacts of it all on the environment was absolutely fascinating and very holistically educational. Mid Wales is also gorgeous and converted this hard core city dweller into considering a life in the country. Here we are with our finished guitars – smiles all round and very ready for a well deserved pint to celebrate!

